I adore the start of each new school year. The classroom is refreshed, a new group of students are raring to learn, routines get tweaked, teachers are re-inspired, and ideas are overflowing from different professional development opportunities that transpire during the summer months. While all new things is not a reality, it is the perfect time to try new ideas.
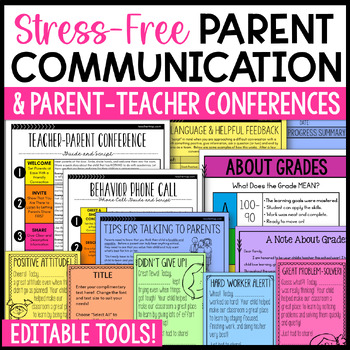
A few years ago my instructional team decided that we wanted to re-vamp our newsletter and make parents excited to both receive AND read it. By 6th grade, parents can feel disconnected from school, and we wanted to find a tool that...
- made them feel connected to their child's learning.
- gave them a bird's eye view of students at work.
- kept them up-to-date on school events.
- didn't waste paper.
Did you know that there is a FREE digital newsletter that lets you do all of these things? It is Smilebox's Teacher's Toolbox and you can get a premium membership for FREE as a classroom teacher.
Click play to watch, then follow the quick steps to create your own account and start making awesome FREE digital and printable newsletters.
STEP #1:
|
STEP #2:
STEP #3:
Step #4:
Step #5:
You are finished! I always play the newsletter for the students on Thursdays, the day it is sent out to parents, so they can reflect on their learning, and, most importantly, see who got featured in the newsletter images. They LOVE it!
All of your newsletter and other slideshow creations will be saved in the MY CREATIONS tab, so you can always go back and revisit or re-send a newsletter that a parent needs. You can also begin creating, save, and come back to it at a more convenient time.
If you are struggling with this component of your parent communication, give this a try. It is the perfect tool to take some stress away from a weekly routine.
All the best this year!
|







Great idea! I'm going to try this. :)
ReplyDeleteThanks! I'm going to give it a whirl, too.
ReplyDeleteThanks so much for sharing this great resource! And the step by step directions to use. It looks rather easy.
ReplyDeleteI had no idea this was available. Thank you, Erin!
ReplyDeleteI had no idea this was available. Thank you, Erin!
ReplyDelete